
- May
- 18
Great Granny Squared Sew Along
Posted Sunday, May 18th, 2014 in Fabric Stash | Read More
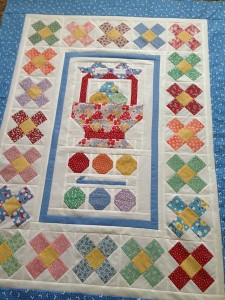
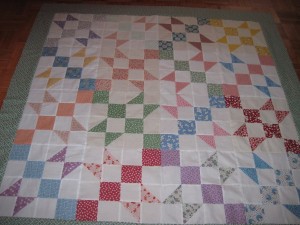
I finished the Great Granny Sew Along quilt top today. All the fabrics for this quilt top came from my scraps and stash.
We were given our choice of two ways to finish the top. I chose Kim’s version. Both quilts used the same size pieces. The only difference is how they are sewn together.
I plan to put it on the quilt frame later this week or next week after Memorial Day.


- Apr
- 28
Great Granny Squared Sew Along
Posted Monday, April 28th, 2014 in Quilting | Read More
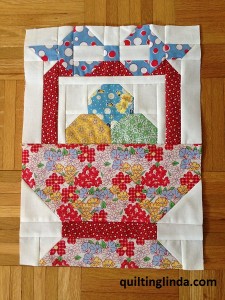
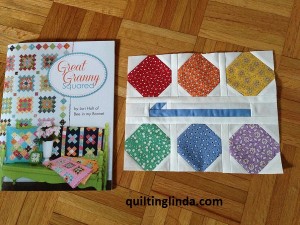
A new sew along began on April 21. We were away visiting our children and grandbabies for a few days and I didn’t start my first block until the end of the week. I finished my basket block on Sunday and cut out the yarn block too. On Monday I put the second block together. I have to admit, I didn’t know what the crochet hook block was until I read the blog. (I thought it was an arrow. lol)
I am using 1930’s reproduction fabrics leftover from the barn blocks I made last year. I may have to use a few fat quarters from my collection before this sew along is finished.
If you want to join the sew along, it can be found on the Jolly Jabber blog. There are two settings for the blocks. I plan to use the setting by Kimberly.
Basket block
Crochet hook and balls of yarn


- Jan
- 24
Quilty Barn Along – 10, 11, 12
Posted Friday, January 24th, 2014 in QAL, Quilting | Read More
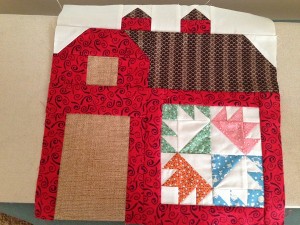
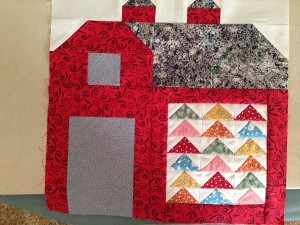
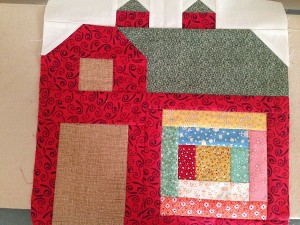
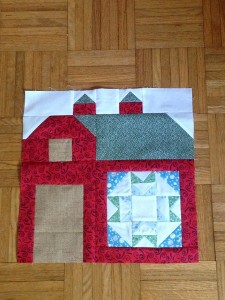
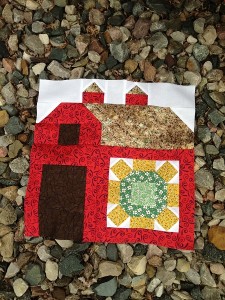
Yipee! I finished my barn blocks! I am still deciding how I will set them together but all twelve blocks are finished. I do want to make a silo barn and a tractor but they may be in another quilt. With the birth of our grand daughter and then Christmas in Columbus, I am just now finishing my BOMs. I was lured into a new BOM for 2014 and have my first row almost finished. More on that later…
By the time I was ready to sew these blocks, the tutorial had been removed. By looking at the pictures on Flicker, I was able to draw them in EQ7 and finish them. And here they are….!!!


- Jul
- 13
Barn Quilt Along – 8
Posted Saturday, July 13th, 2013 in QAL, Quilt Blocks | Read More
Sorry for the bad photography. The center points are a light blue against the white background.
We were given a pattern for a barn with a silo beside it and the pieced block in the barn door. I want to make a few of those in different colors.


- May
- 10
Quilty Barn Along – 6
Posted Friday, May 10th, 2013 in QAL | Read More
Block 6 is Sunny Sunflower! It sounds happy, doesn’t it?
A tutorial for this block can be found here.


- Oct
- 30
My Birthday Quilt
Posted Sunday, October 30th, 2011 in baby quilt, Quilting | Read More
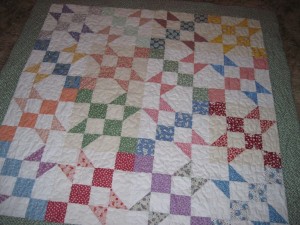
I have been participating in a birthday block exchange on the Garden Web Quilting Forum this year. There are 13 people in the group. Each person chose the block pattern and fabrics they would like to receive and the list was sent to everyone in the group. We made a block each month and sent it to the birthday person. In October it was my turn to receive blocks. I chose the block called “Road to California”. My fabric choices were any color 1930’s fabric with bleached muslin for the background.
I received 13 blocks (one person made two blocks) and I made three more for a total of sixteen blocks. I arranged them to form five stars (can you find them?) and added a border.
The backing is bleached muslin to match the background fabric.


- Mar
- 6
Let’s twist!
Posted Sunday, March 6th, 2011 in Christmas gift, Fabric Stash, My Projects, Quilt Blocks, Quilting | Read More
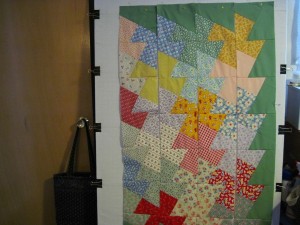
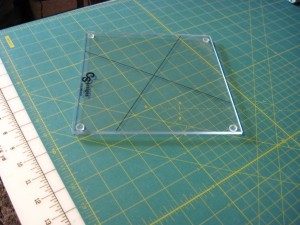
Last week I went on a shop hop and bought the Twister tool. Let me explain… The Twister tool is used to cut pinwheel blocks from squares with no cutting of triangles or other angles. The first step is to sew squares into rows and then sew the rows together. Next a border is added. Now it is time to use the Twister tool. You line up the intersecting lines on the tool with the seams between the side and top borders and the first square and cut around it. Continue placing the tool on the following seams and cutting. When you have cut all the squares they are joined together into rows, etc.. After the blocks are all sewn together another border is added.
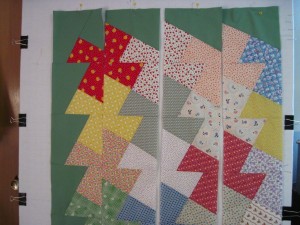
This is a picture of some of the rows on my design board.
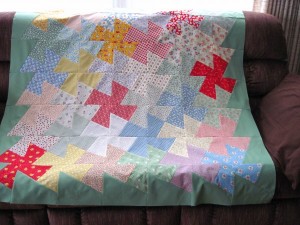
These are the rows for the second half of the quilt.
Next with the rows sewn together again…
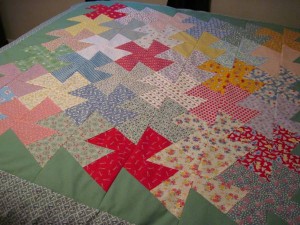
and now with the final border.
The fabrics used in this quilt were a collection of 1930’s ten inch squares that were given to me by my daughter for Christmas a few years ago. There were 35 squares in the pack so I added one square from my 30’s stash. She purchased them at the Keepsake Quilting store in New Hampshire.
Twister Tool:


Welcome to Quilting Linda
Within you'll find info about quilting, including my projects soon to be featured below, as well as tidbits about my friends & family. Enjoy!


 © 2009 Linda West