
- Jun
- 14
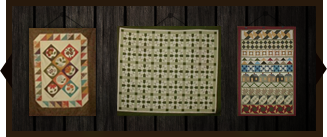
Smaller design wall
Posted Monday, June 14th, 2010 in My Projects, Quilt Guilds, Quilting, Sewing and Crafting, Tips and Tricks | Read More


I had a tri-fold display board that I had covered with flannel several years ago when I taught a class. All I had to do was add the curtain rods. In the second picture you can see how the curtain rods are attached with the binder clips.
Just click on the picture to enlarge it.


- Jun
- 13
My new design wall
Posted Sunday, June 13th, 2010 in Quilt Guilds, Sewing and Crafting, Tips and Tricks | Read More

I made this portable design wall from instructions given at the Appleseed Quilters Guild meeting in April. Items needed are a dressmaker’s cardboard cutting board, two metal curtain rods (72″ white rods that curve at the ends), a piece of flannel or felt 44″ X 80″, 10 large binder clips, and painter’s tape or double sided carpet tape. To make a smaller design wall, a tri-fold display board can be used.
I made mine from items that I had on hand except for the cutting board and curtain rods. I owned a dressmaker’s cutting board but it disappeared long ago. My friend Liz gave me her old cutting board. I purchased the curtain rods at Dollar General for $3.50 each. I had a box of large binder clips, painter’s tape, and a nice piece of white flannel.
Cover the cutting board with the flannel and tape it to the back of the board. Open the curtain rods and fasten to the long sides of the board with the large binder clips. Stand the board against a wall or bookcase to use. I put mine in front of a cabinet in my sewing room.
It went together very quickly. When finished using it, it can be folded up and stored.
My next project will be to make a small board from a tri-fold display board. I already have one covered with felt. All I need to do is to add the curtain rods. It will be a nice size to set up near my sewing machine for smaller projects.

Welcome to Quilting Linda
Within you'll find info about quilting, including my projects soon to be featured below, as well as tidbits about my friends & family. Enjoy!

- Categories
- Accuquilt Go cutter
- Amy Butler
- baby quilt
- Bonnie Hunter mystery quilt
- Celtic Solstice
- Christmas gift
- Decorated Cookies
- Dots on Dots Blog Hop
- Embroidered Quilt Label
- Fabric Stash
- Fabrics
- Family
- Five Little Monkeys
- Gingerbread House
- Grand Illusion
- Heather Bailey
- Hello Moon Block of the Month
- Hello Sun Block of the Month
- jelly roll
- Layer Cake
- Magazines
- Moda charm pack
- Moda City Girl fat quarters
- My Projects
- mystery quilt
- Patterns
- Personal
- Piecemakers Quilt Group
- place mat
- QAL
- Quilt Blocks
- Quilt Classes
- Quilt Guilds
- Quilt Shows
- Quilting
- Quilting tools
- Scrap Quilts
- Sewing and Crafting
- Shop Hop
- table runner
- Tips and Tricks
- Twister quilt
- Twister Wreath
- Wall Hanging
- Websites
-
- By Date
- May 2019
- April 2019
- January 2019
- December 2018
- November 2018
- September 2018
- August 2018
- July 2018
- May 2018
- April 2018
- March 2018
- February 2018
- 2019
- 2018
- 2017
- 2016
- 2015
- 2014
- 2013
- 2012
- 2011
- 2010
- 2009

 © 2009 Linda West
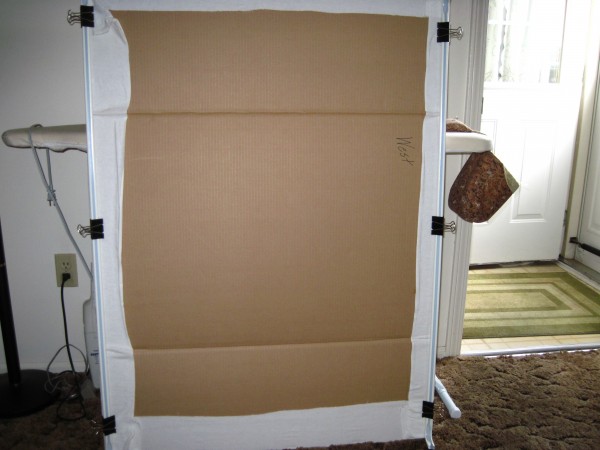